Quick & Simple Guide to HP Printer Setup
your HP printer Setup easily with simple steps for installation, connection, and printing.
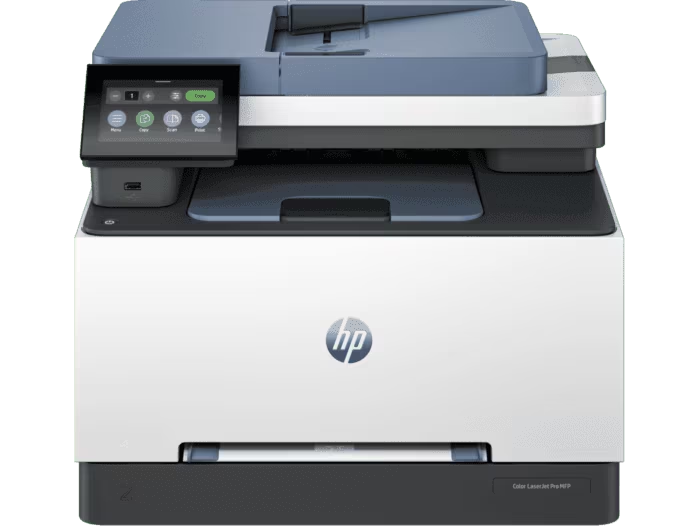
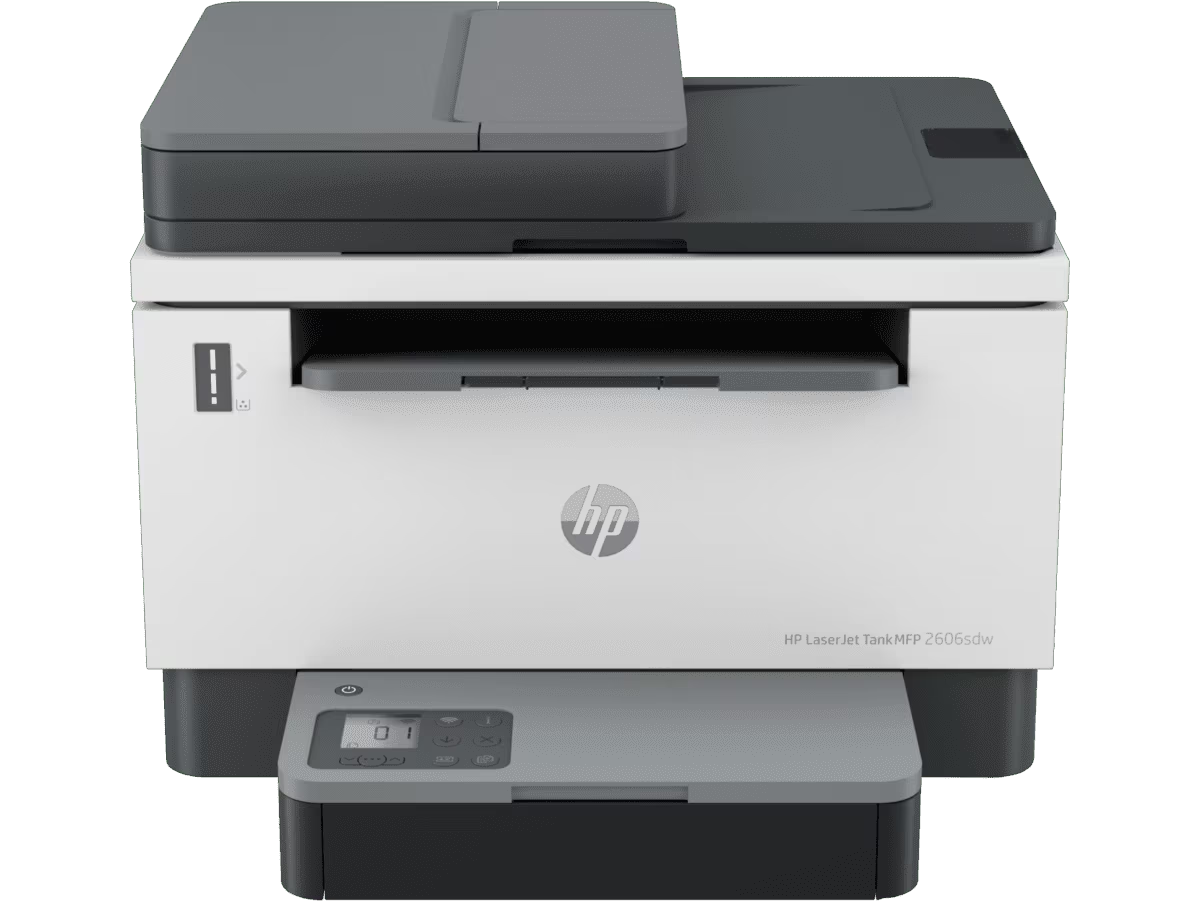
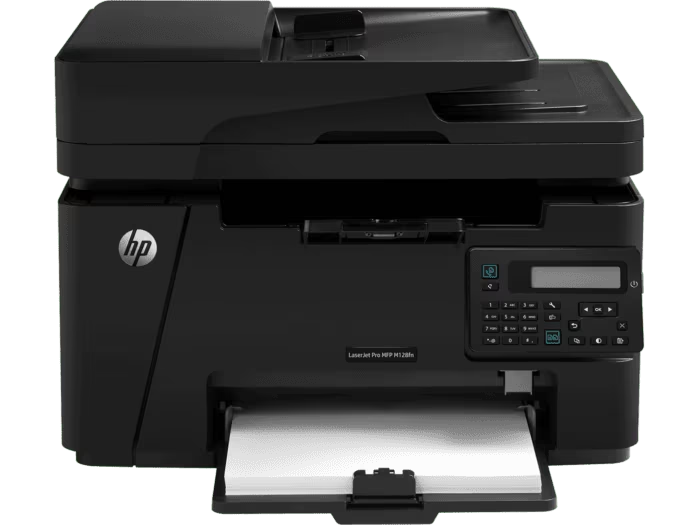
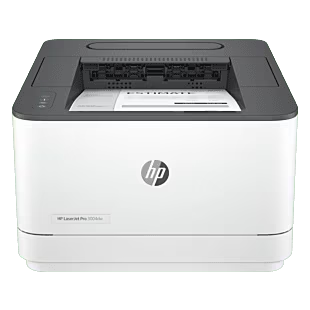
Printer Setup Instructions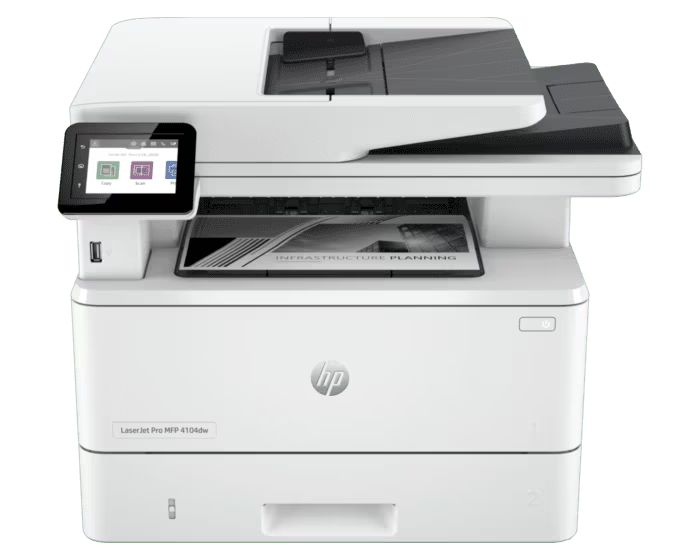
your HP printer Setup easily with simple steps for installation, connection, and printing.
Printer Setup Instructions
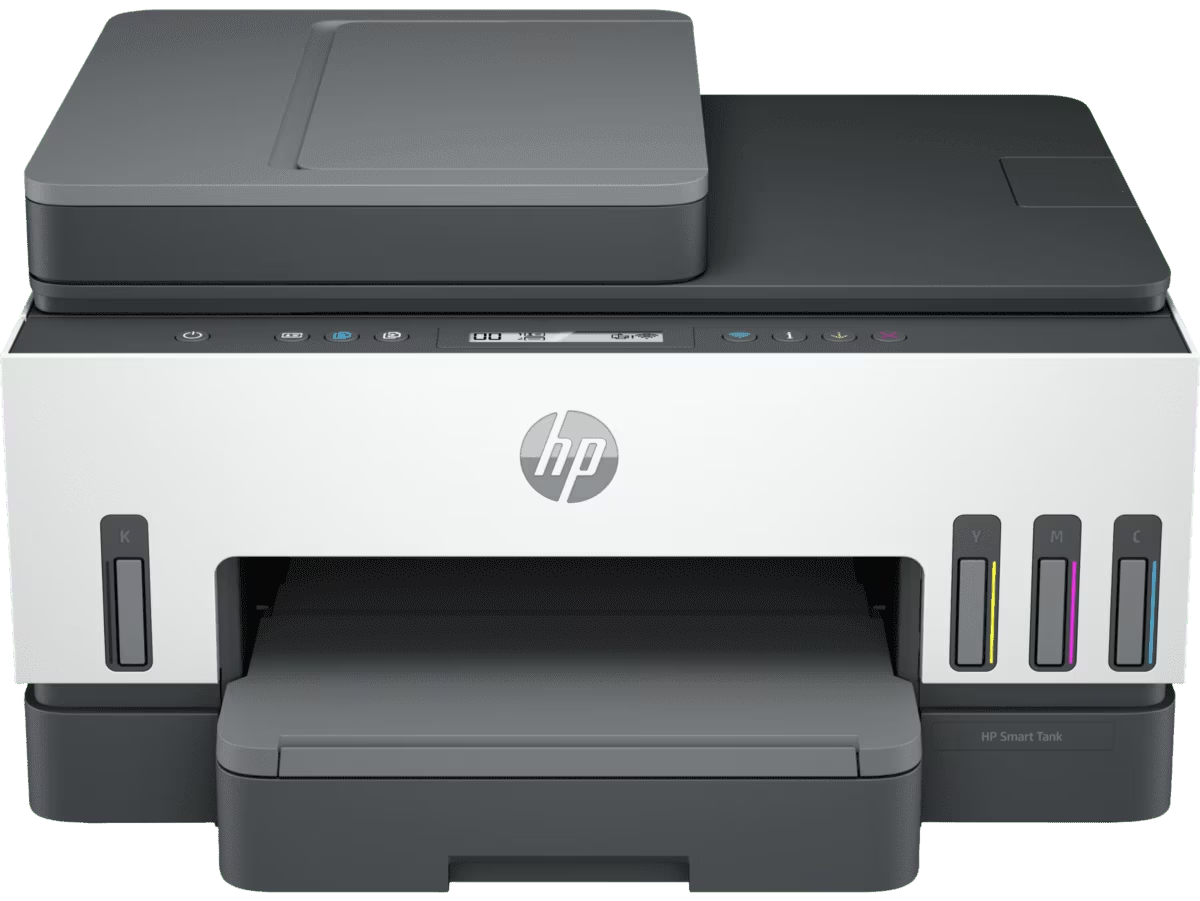
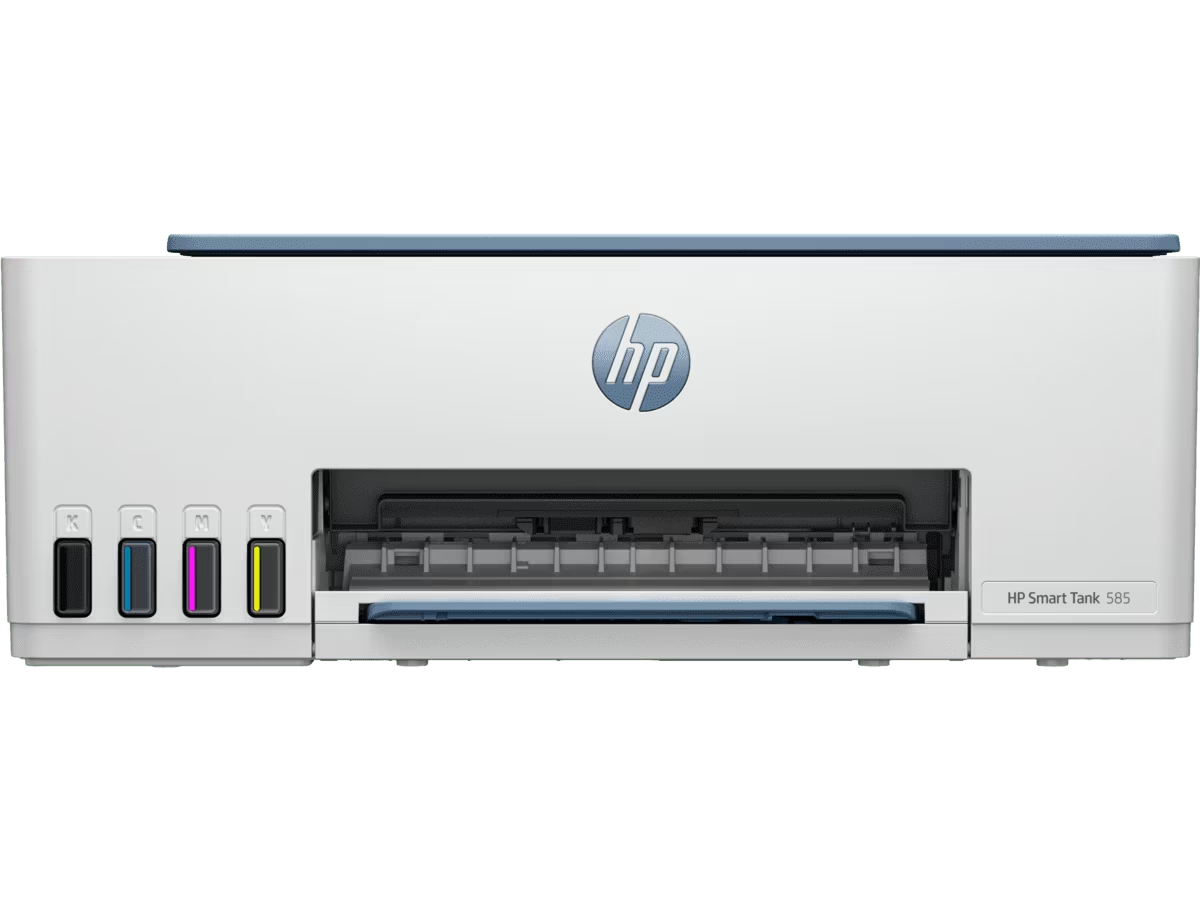
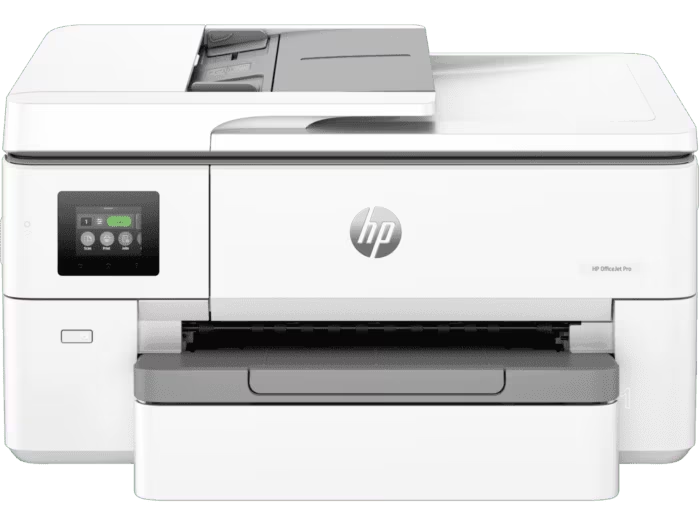

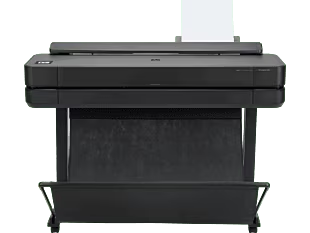
Unbox your printer carefully, remove all packaging, and check the accessories. Place it on a flat surface, plug it in, and get ready for setup!
Press the power button on your printer to turn it on. Wait for the lights to stabilize. Your printer is now ready for the setup process.
Open the paper tray, make any necessary adjustments to the guides, and then arrange the paper neatly to load it. Your printer is now prepared for printing when you close the tray.
Print a sample page to test the printer. Verify that the paper feeds properly and that the ink is clear. Reinstall drivers or change settings if necessary.
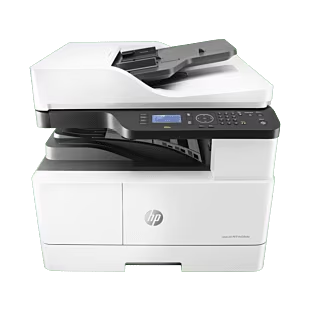
Place the printer on a flat, stable surface near a power outlet and your computer or Wi-Fi router. Ensure proper ventilation and easy access for paper loading.
To install ink cartridges, open the printer cover, insert the cartridges into their slots, and close the cover. Follow the printer’s instructions for alignment and setup.
To establish a connection, turn on your printer, use a USB cable or Wi-Fi, and then follow the setup steps on your computer or mobile device.
Print a sample page to test the printer. Verify that the paper feeds properly and that the ink is clear. Reinstall drivers or change settings if necessary.

My HP printer setup was super easy! The step-by-step guide helped me get it running in minutes. Highly recommend!

Best HP printer setup experience ever! The instructions were straightforward, and I had no trouble connecting my HP printer to my laptop. Highly satisfied!